Listen up, tech enthusiasts and Raspberry Pi lovers! If you've been scratching your head trying to figure out raspberry pi vnc port forwarding, you're in the right place. This guide is your one-stop solution for everything you need to know about setting up VNC and making it accessible from anywhere using port forwarding. Whether you're a beginner or an advanced user, this article will walk you through every step, so grab your coffee and let's dive in.
Port forwarding might sound intimidating at first, but trust me, it’s not as complicated as it seems. With the right tools and instructions, you can easily access your Raspberry Pi remotely through VNC. This setup is perfect for anyone who wants to control their Pi from another device, even when they're miles apart.
Before we dive deep into the nitty-gritty of raspberry pi vnc port forwarding, let’s quickly understand why this setup is so valuable. Imagine being able to control your Raspberry Pi from your laptop or smartphone, no matter where you are. That’s the power of VNC combined with port forwarding. Let’s get started!
- Aditi Mishra Hot Live The Ultimate Guide To Her Career Persona And More
- Aditi Misty Live Videos The Rise Of A Digital Sensation
What is VNC and Why Should You Use It?
VNC, or Virtual Network Computing, is a graphical desktop sharing system that allows you to remotely control another computer. It's like having a virtual set of hands on your Raspberry Pi, even if you're miles away. VNC is super useful for tasks like monitoring, troubleshooting, or simply accessing files on your Pi remotely.
Here’s why you should consider using VNC:
- It provides full control over your Raspberry Pi, just like sitting in front of it.
- You can access your Pi from any device with a VNC client installed.
- It's secure when configured properly, giving you peace of mind.
VNC is not just about convenience; it’s about efficiency. Whether you're a hobbyist working on a personal project or a professional managing multiple Pis, VNC makes life easier.
- Aditi Mistry Rising Star In Entertainment
- Aditi Mistry Hot Video The Truth Behind The Viral Sensation
How VNC Works on Raspberry Pi
When you install VNC on your Raspberry Pi, it creates a server that allows other devices to connect to it. The VNC server captures the screen, keyboard, and mouse inputs from your Pi and transmits them to the connected device. This means you can interact with your Pi as if you were physically there.
Now, let’s talk about the elephant in the room: raspberry pi vnc port forwarding. Port forwarding is what makes VNC accessible from outside your local network. Without it, you’d only be able to access your Pi within your home or office network. But with port forwarding, the world is your oyster!
Understanding Port Forwarding
Port forwarding is like creating a secret tunnel through your router that lets external devices connect to a specific device inside your network. In this case, we're forwarding a port to your Raspberry Pi so you can access it via VNC from anywhere.
Here’s a quick breakdown of how it works:
- Your router acts as a gatekeeper for all devices connected to your network.
- By setting up port forwarding, you tell your router to send incoming traffic on a specific port directly to your Raspberry Pi.
- This allows VNC clients from outside your network to connect to your Pi securely.
It’s important to note that port forwarding should be done with caution. You’ll want to ensure your Pi is secure before opening it up to the internet. We’ll cover that in more detail later.
Why Port Forwarding is Essential for Raspberry Pi VNC
Without port forwarding, VNC is limited to your local network. While this is fine for some use cases, it severely limits the potential of remote access. By setting up port forwarding, you unlock the full power of VNC and make your Raspberry Pi accessible from anywhere in the world.
Here are some scenarios where port forwarding becomes indispensable:
- Managing a home automation system remotely.
- Accessing files and applications on your Pi while traveling.
- Monitoring and troubleshooting projects without being physically present.
Now that we’ve covered the basics, let’s move on to the exciting part: setting it all up!
Setting Up VNC on Your Raspberry Pi
The first step in this journey is setting up VNC on your Raspberry Pi. This process is straightforward and can be done using the Raspberry Pi Configuration tool or the command line.
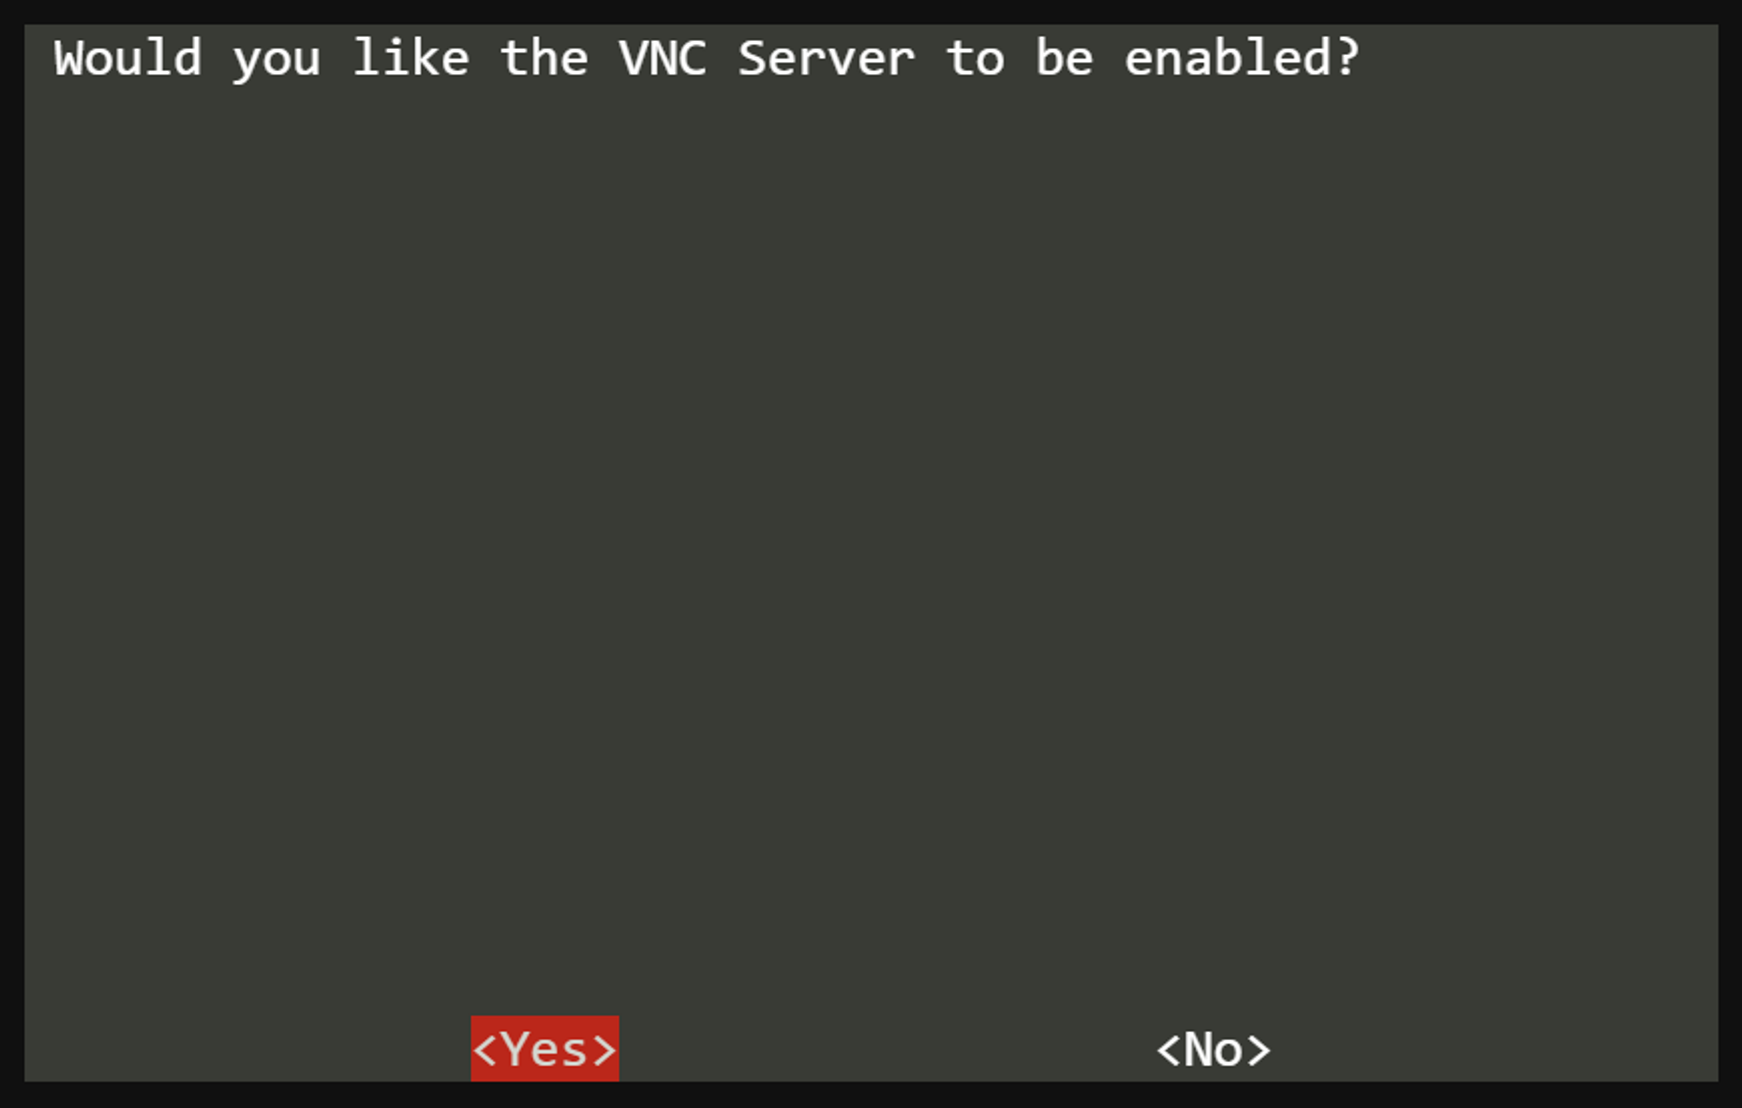
Step 1: Enable VNC
Boot up your Raspberry Pi and open the terminal. Type the following command to open the Raspberry Pi Configuration tool:
sudo raspi-config
Once the tool opens, navigate to "Interfacing Options" and select "VNC." Enable it and exit the tool.
Step 2: Install the VNC Server
If you haven’t already installed the VNC server, you can do so by running the following commands:
sudo apt update
sudo apt install realvnc-vnc-server realvnc-vnc-viewer
That’s it! VNC is now installed and ready to go. But before you start connecting, let’s secure your Pi.
Securing Your Raspberry Pi for Remote Access
Security is paramount when setting up remote access. You don’t want unauthorized users gaining control of your Pi. Here are a few steps to keep your Pi safe:
- Change the default password for your Raspberry Pi user account.
- Enable a firewall to restrict access to only the necessary ports.
- Consider using SSH for additional security measures.
By following these steps, you ensure that your Raspberry Pi is as secure as possible before exposing it to the internet.
Configuring Port Forwarding on Your Router
Now that VNC is set up and your Pi is secure, it’s time to configure port forwarding on your router. This step varies depending on your router model, but the general process remains the same.
Step 1: Log in to Your Router
Open a web browser and enter your router’s IP address (usually something like 192.168.0.1 or 192.168.1.1). Log in using your router’s credentials.
Step 2: Find the Port Forwarding Section
Look for a section labeled "Port Forwarding," "NAT," or "Virtual Servers." This is where you’ll set up the forwarding rules.
Step 3: Add a New Rule
Create a new rule with the following settings:
- Service Name: VNC (or any name you prefer)
- External Port: 5900
- Internal Port: 5900
- IP Address: Your Raspberry Pi’s local IP address (e.g., 192.168.0.10)
- Protocol: TCP
Save the rule and restart your router if necessary. Your Raspberry Pi is now accessible via port 5900 from outside your network.
Troubleshooting Port Forwarding Issues
Sometimes, port forwarding might not work as expected. Here are a few common issues and how to fix them:
- Double-check the IP address of your Raspberry Pi to ensure it hasn’t changed.
- Verify that the VNC server is running on your Pi.
- Test the port forwarding setup using an online tool like canyouseeme.org.
If everything checks out but you’re still having issues, consult your router’s manual or contact your ISP for further assistance.
Connecting to Your Raspberry Pi with VNC
With VNC set up and port forwarding configured, it’s time to connect to your Raspberry Pi from another device. You’ll need a VNC client installed on the device you’re using to connect.
Step 1: Install a VNC Client
Download and install a VNC client on your device. Popular options include RealVNC Viewer, TightVNC, and UltraVNC.
Step 2: Enter the Connection Details
Open the VNC client and enter your Raspberry Pi’s public IP address followed by the port number (e.g., 123.456.789.012:5900). Enter your Pi’s credentials when prompted, and you’re good to go!
That’s it! You’re now connected to your Raspberry Pi remotely via VNC.
Enhancing the VNC Experience
Once connected, you might want to tweak some settings to enhance the VNC experience:
- Adjust the resolution for better performance.
- Enable encryption for a secure connection.
- Customize keyboard and mouse settings to your liking.
With these tweaks, you’ll have a smooth and efficient remote access experience.
Advanced Tips for Raspberry Pi VNC Port Forwarding
If you’re looking to take your Raspberry Pi VNC setup to the next level, here are a few advanced tips:
Using Dynamic DNS
Your public IP address might change periodically, making it difficult to connect consistently. To solve this, you can use a Dynamic DNS (DDNS) service. DDNS assigns a domain name to your IP address, which updates automatically if your IP changes.
Popular DDNS services include No-IP, Dyn, and DuckDNS. Follow their instructions to set up DDNS for your Raspberry Pi.
Setting Up SSH Tunneling
For an extra layer of security, consider setting up SSH tunneling. This encrypts your VNC connection, making it nearly impossible for hackers to intercept your data.
Here’s how to set up SSH tunneling:
- Install OpenSSH on your Raspberry Pi.
- Use an SSH client to create a tunnel between your local machine and the Pi.
- Connect to VNC through the SSH tunnel.
SSH tunneling might sound complex, but it’s worth the effort for the added security it provides.
Best Practices for Raspberry Pi VNC Port Forwarding
To ensure a smooth and secure experience, follow these best practices:
- Regularly update your Raspberry Pi’s software to patch security vulnerabilities.
- Use strong, unique passwords for your Pi and router.
- Limit access to your Pi by whitelisting specific IP addresses.
By adhering to these practices, you minimize the risk of unauthorized access and keep your Pi safe.
Monitoring Your Raspberry Pi’s Activity
It’s always a good idea to monitor your Raspberry Pi’s activity, especially when it’s exposed to the internet. You can use tools like fail2ban to automatically block suspicious login attempts.
Additionally, consider setting up logging to track who’s accessing your Pi and when. This way, you’ll have a record of all remote connections.
Conclusion
And there you have it, folks! A comprehensive guide to raspberry pi vnc port forwarding. By following the steps outlined in this article, you can set up a secure and efficient remote access system for your Raspberry Pi. Whether you’re a hobbyist or a professional, this setup will undoubtedly enhance your productivity and convenience.
So, what are you waiting for? Grab your Raspberry Pi, roll up your sleeves, and start setting up VNC with port forwarding today. Don’t forget to share this article with your friends and leave a comment below if you have any questions or feedback. Happy tinkering!
- Melissa Rauch Nude Pics The Truth Behind The Headlines
- Why Www Vegamovies Com Is A Gamechanger For Movie Buffs