Listen up, tech enthusiasts! If you've ever found yourself scratching your head trying to figure out how to securely and directly connect Raspberry Pi IP address, you're in the right place. This article is your ultimate guide to mastering this task without breaking a sweat. Whether you're a seasoned developer or just starting out, connecting your Raspberry Pi securely is something you'll want to nail down. So, buckle up because we're diving deep into the world of Raspberry Pi networking!
Connecting your Raspberry Pi to the internet or a local network might seem like a daunting task, but trust me, it's not as complicated as it sounds. The key is understanding how to manage IP addresses effectively while keeping your device safe from potential threats. In this guide, we’ll walk you through everything you need to know, step by step, so you can connect confidently and securely.
Before we dive into the nitty-gritty details, let's quickly break down why securely connecting your Raspberry Pi is so important. Imagine your Raspberry Pi as the brain of your home automation system or a personal server. If it's not properly secured, you're leaving the door wide open for hackers to mess with your setup. But don't worry—we've got your back. Let’s get started!
- Aditi Mistry Viral Sex Videos The Truth Behind The Headlines
- Vairlkandcom Unveiling The Hidden Secrets Of An Emerging Digital Realm
Understanding Raspberry Pi and Its IP Address
Alright, let's start with the basics. Your Raspberry Pi is essentially a tiny computer that can run various operating systems and applications. Just like any other device on a network, it needs an IP address to communicate with other devices. Now, here’s the thing: there are two types of IP addresses you should be familiar with—static and dynamic.
A dynamic IP address changes every time your device connects to the network, while a static IP address remains the same. For most projects involving Raspberry Pi, having a static IP address is highly recommended because it makes accessing your Pi from other devices much easier.
Why Is a Static IP Important for Raspberry Pi?
Let me explain this in simple terms. Think of your Raspberry Pi as your favorite coffee shop. If its location keeps changing every day (dynamic IP), it becomes a hassle to find it when you’re craving that morning latte. On the other hand, if it stays in one place (static IP), you know exactly where to go. Makes sense, right?
- Aditi Mistry Live New Video The Buzz The Story And The Impact
- Aditimistry Hot Live The Ultimate Guide To Her Phenomenal Journey
- Static IP ensures consistent connectivity.
- It simplifies remote access and network management.
- It’s crucial for running servers or hosting applications on your Pi.
Steps to Securely and Directly Connect Raspberry Pi IP Address
Now that we’ve covered the basics, let’s move on to the fun part—connecting your Raspberry Pi securely. Follow these steps carefully, and you’ll be good to go in no time.
Step 1: Access Your Raspberry Pi
First things first, you’ll need to access your Raspberry Pi. If you’re using a monitor and keyboard, great! If not, you can use SSH (Secure Shell) to connect remotely. Make sure SSH is enabled on your Pi by running the command:
sudo raspi-config
Then navigate to the SSH option and enable it.
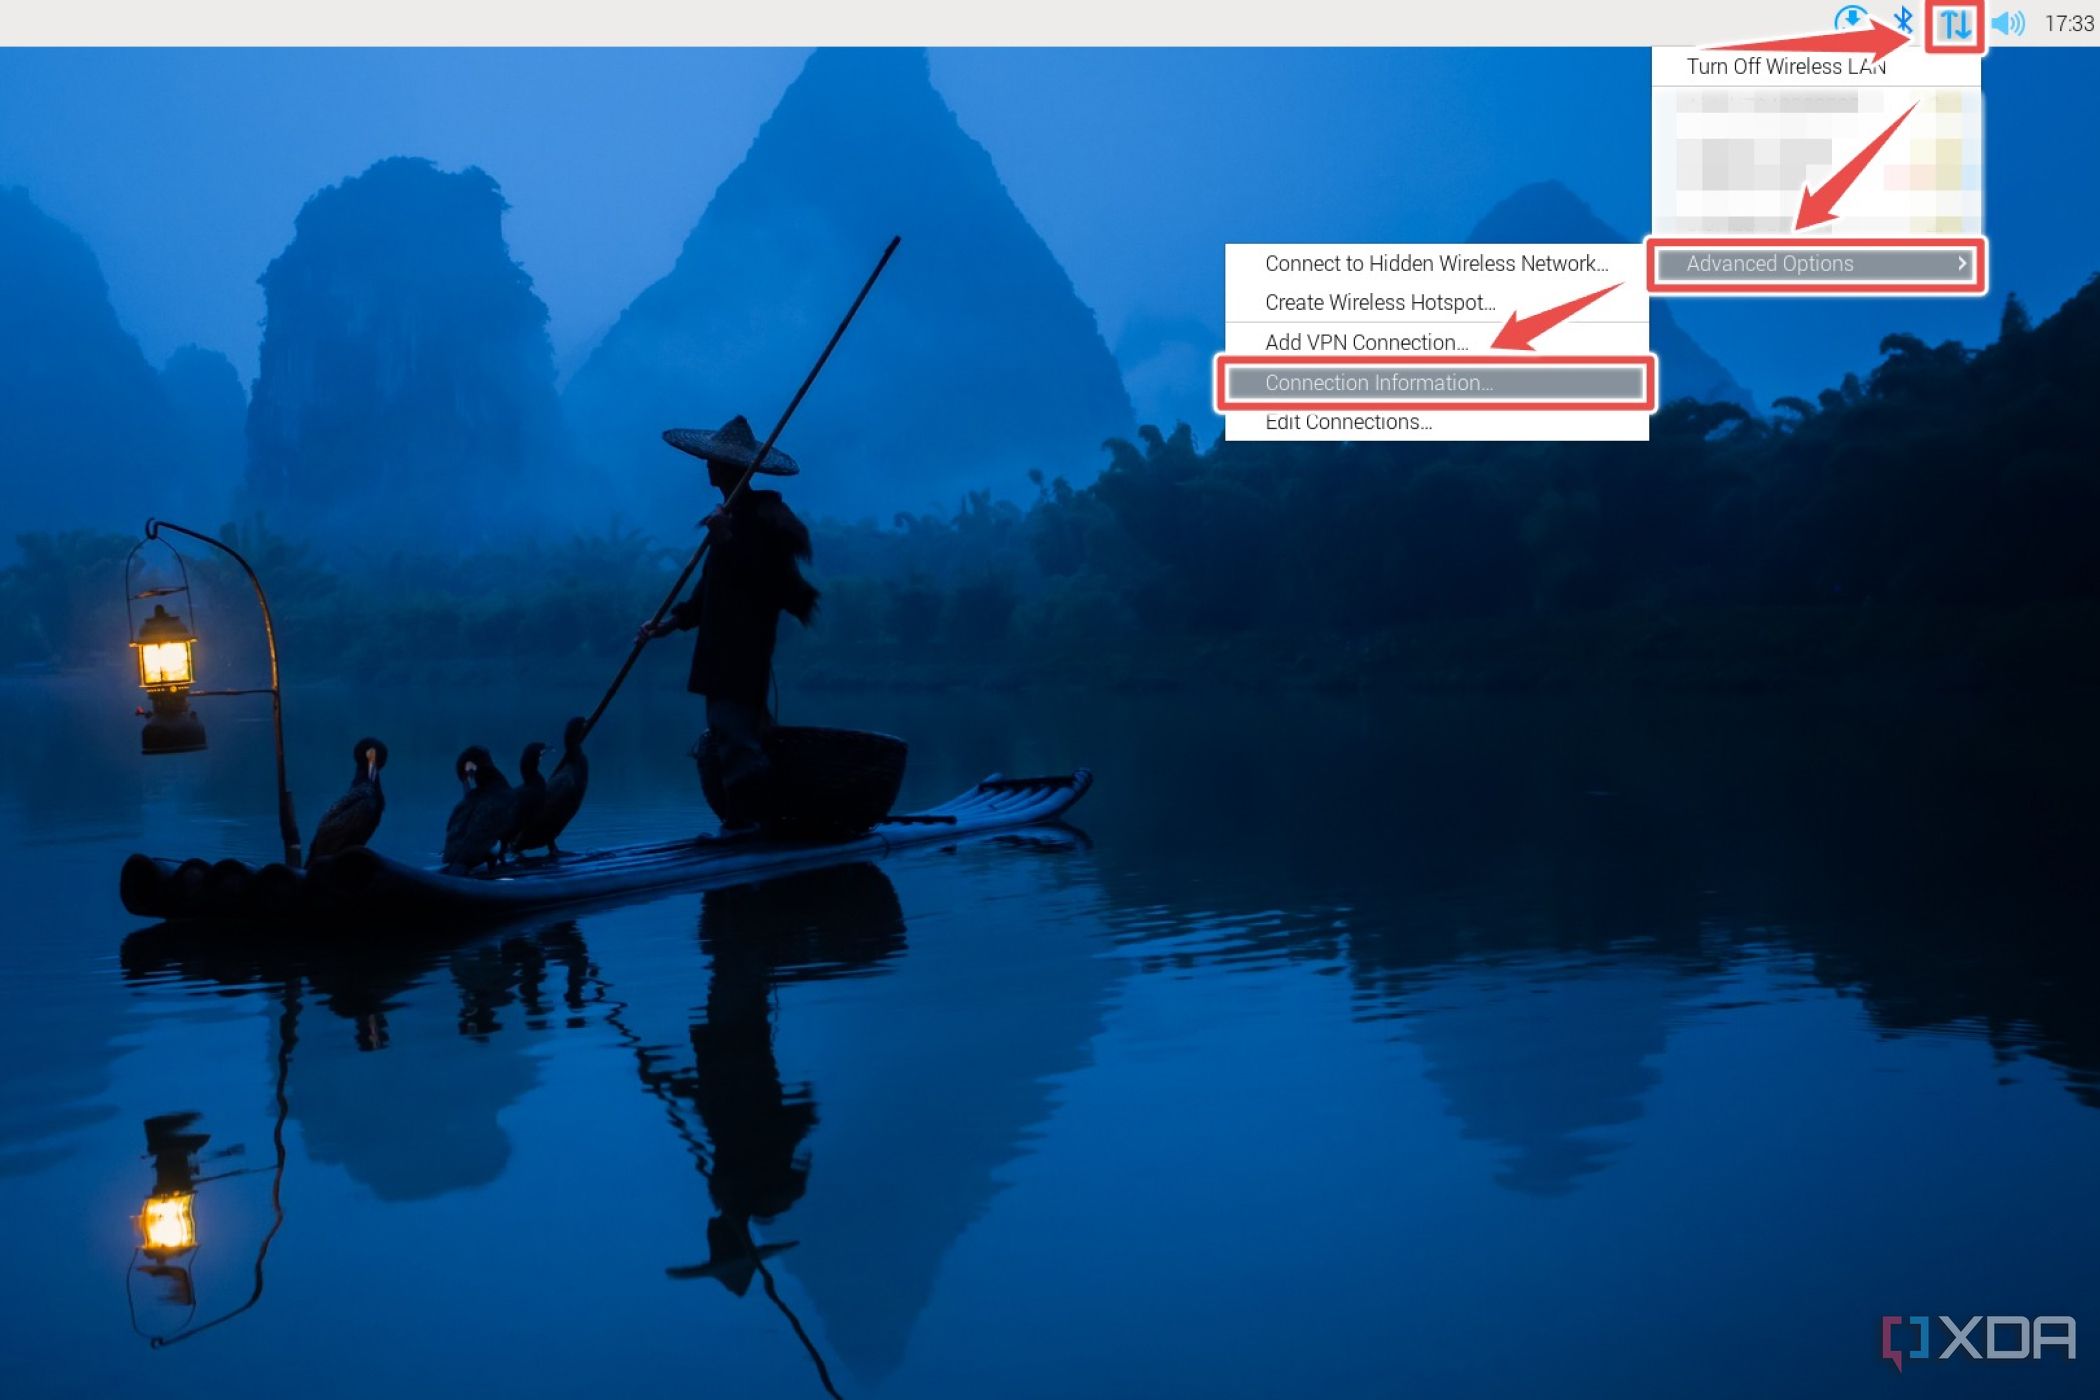
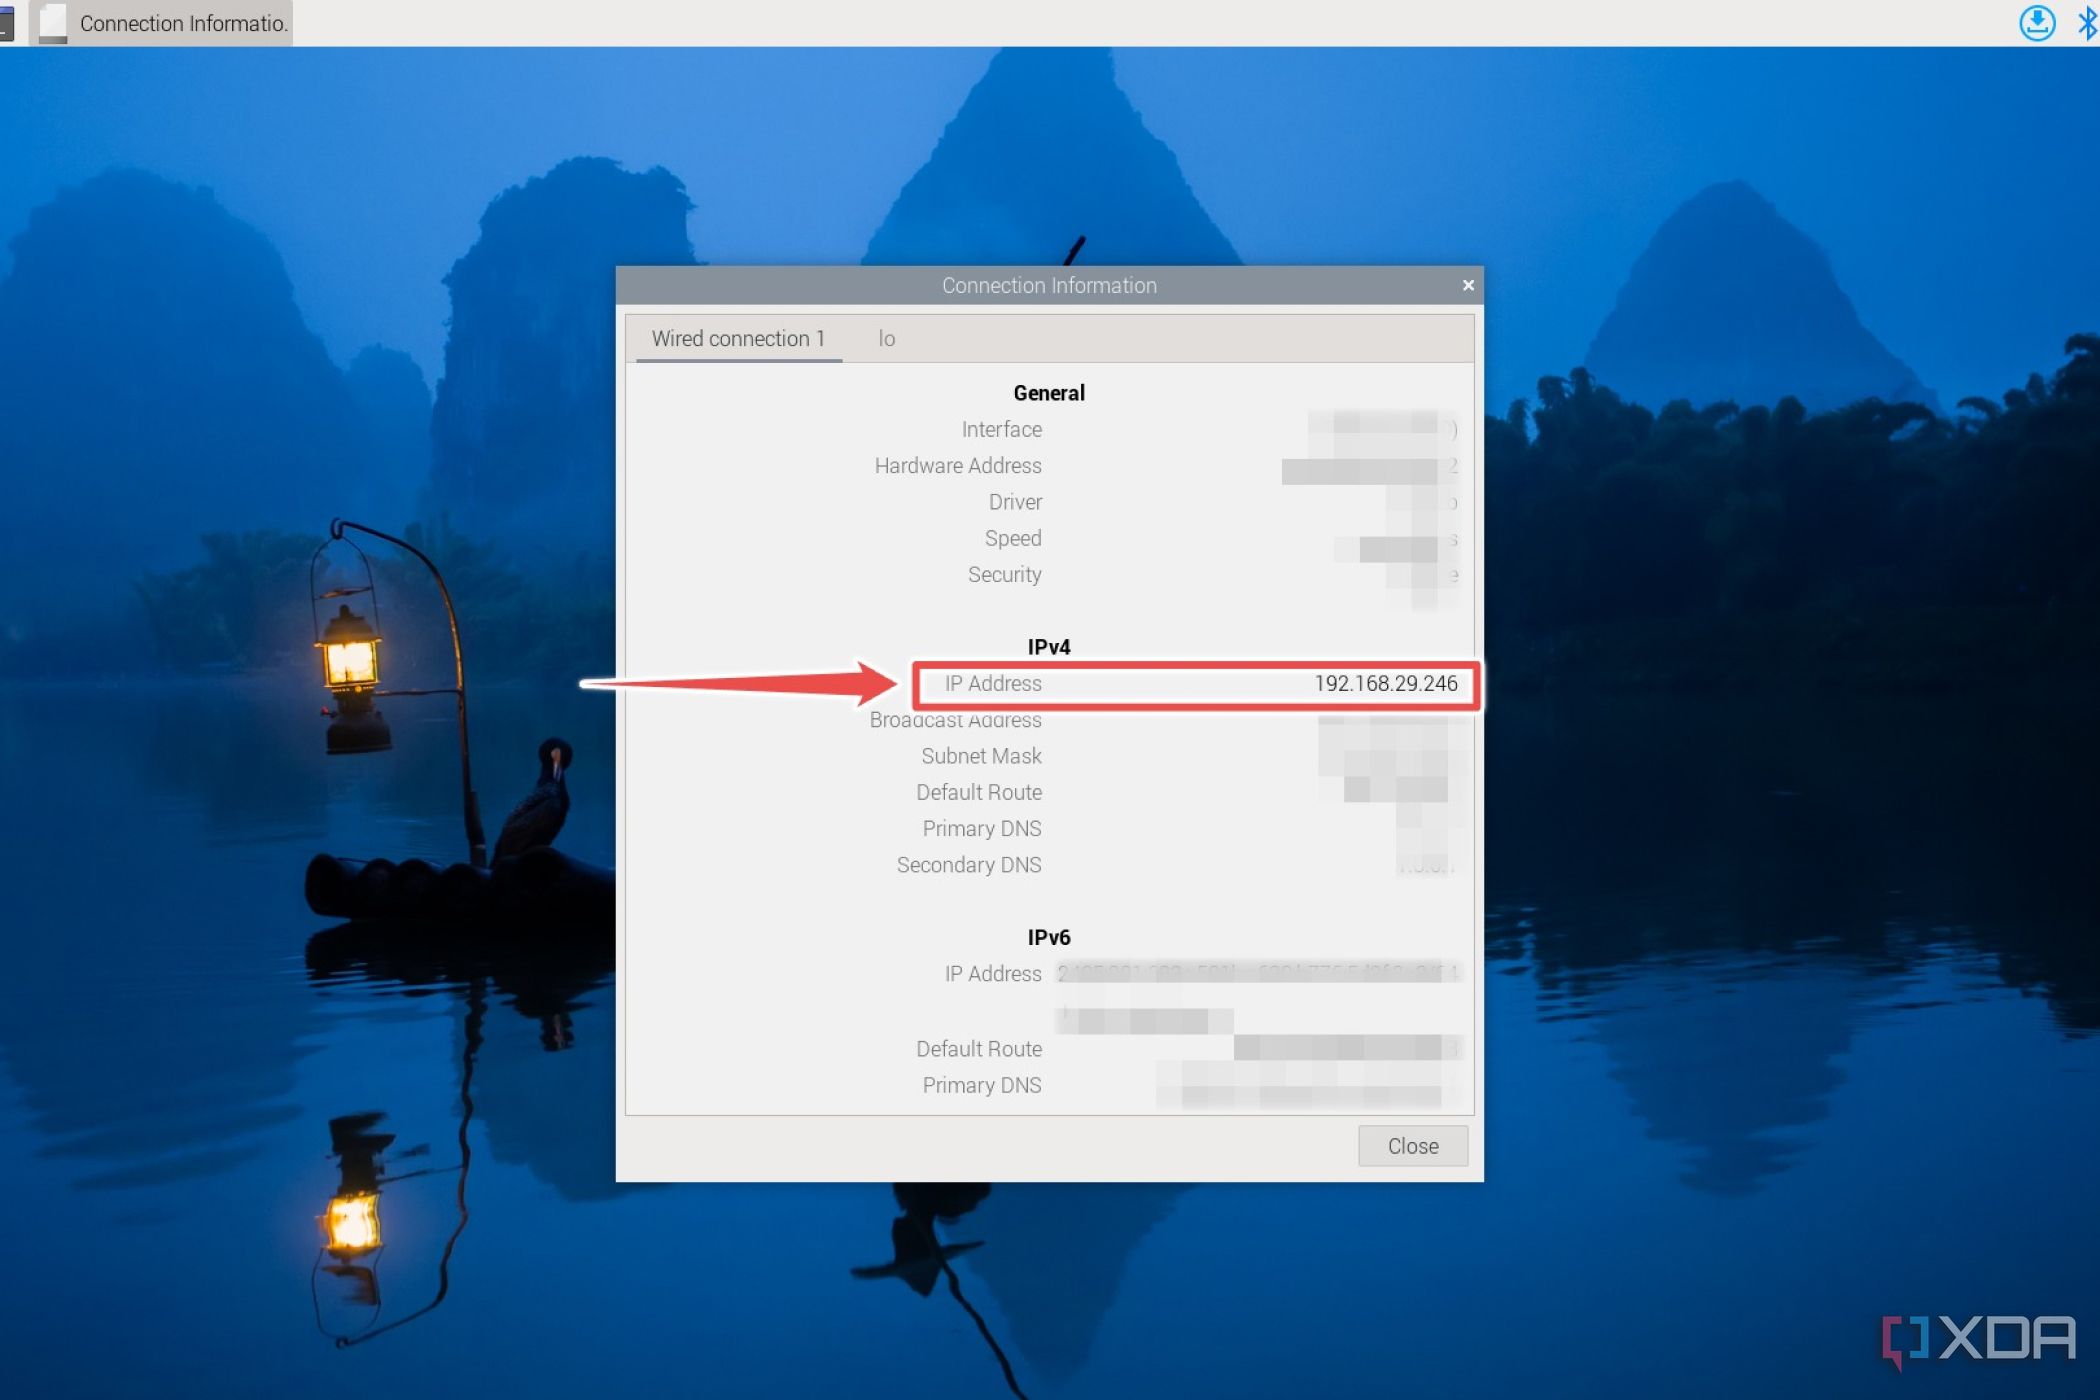
Step 2: Find Your Current IP Address
To find your Raspberry Pi’s current IP address, type the following command in the terminal:
hostname -I
This will display the IP address assigned to your Pi. Keep in mind that this address might change if you’re using a dynamic IP.
Step 3: Set a Static IP Address
Here’s where the magic happens. To set a static IP address, you’ll need to edit the network configuration file. Use the following command:
sudo nano /etc/dhcpcd.conf
Add the following lines at the bottom of the file, replacing the placeholders with your actual network details:
interface eth0
 static ip_address=192.168.1.100/24
 static routers=192.168.1.1
 static domain_name_servers=192.168.1.1
Save the file and reboot your Pi using:
sudo reboot
Securing Your Raspberry Pi Connection
Setting up a static IP is just the beginning. To truly securely and directly connect Raspberry Pi IP address, you need to take additional security measures. Let’s talk about some best practices to keep your Pi safe.
1. Update Your System
Always keep your Raspberry Pi’s software up to date. Run the following commands regularly:
sudo apt update
 sudo apt upgrade
This ensures you have the latest security patches and bug fixes.
2. Change Default Credentials
One of the easiest ways hackers can access your Pi is by using default login credentials. Change the default username and password immediately after setting up your Pi.
3. Enable a Firewall
A firewall acts as a barrier between your Pi and potential threats. Install and configure ufw (Uncomplicated Firewall) by running:
sudo apt install ufw
 sudo ufw enable
Allow only necessary ports, such as SSH:
sudo ufw allow 22
Advanced Security Tips for Raspberry Pi
For those of you who want to take security to the next level, here are some advanced tips:
- Disable Password Authentication for SSH: Use SSH keys instead for added security.
- Monitor Network Traffic: Tools like
iftopcan help you keep an eye on suspicious activity. - Encrypt Your Data: Consider encrypting sensitive files and folders using tools like
gpg.
Using SSH Keys for Authentication
SSH keys provide a more secure way to authenticate your Raspberry Pi. Here’s how to set it up:
ssh-keygen -t rsa -b 4096
This command generates a new SSH key pair. Copy the public key to your Pi using:
ssh-copy-id pi@your-pi-ip-address
Once done, disable password authentication in the SSH config file:
sudo nano /etc/ssh/sshd_config
Set PasswordAuthentication no and restart the SSH service:
sudo service ssh restart
Connecting Raspberry Pi to a Wi-Fi Network
If you’re using a wireless connection, setting up a static IP works similarly. Edit the wpa_supplicant.conf file:
sudo nano /etc/wpa_supplicant/wpa_supplicant.conf
Add your Wi-Fi network details and configure the static IP as shown earlier.
Troubleshooting Common Issues
Let’s face it—things don’t always go as planned. Here are some common issues and how to fix them:
- No Internet Connection: Double-check your network settings and ensure your router is functioning properly.
- SSH Not Working: Verify that SSH is enabled and check your firewall rules.
- Static IP Not Sticking: Make sure there are no conflicts with other devices on the network.
Why Securing Your Raspberry Pi Matters
Now that you know how to securely and directly connect Raspberry Pi IP address, let’s talk about why this is so important. Your Raspberry Pi is more than just a hobbyist’s toy—it’s a powerful tool that can be used for serious applications like home automation, media servers, and even web hosting. Without proper security measures, you’re putting your entire network at risk.
Real-World Examples of Raspberry Pi Security Breaches
In recent years, there have been several reported cases of compromised Raspberry Pi devices. Attackers have used these devices to mine cryptocurrency, launch DDoS attacks, and even steal personal data. By following the steps outlined in this guide, you can significantly reduce the risk of such incidents.
Conclusion and Final Thoughts
Alright, folks, that’s a wrap! You now know how to securely and directly connect Raspberry Pi IP address like a pro. Remember, securing your Pi isn’t just about setting up a static IP—it’s about implementing best practices to protect your device and your network.
Here’s a quick recap of what we covered:
- Understanding the importance of static IP addresses.
- Setting up a static IP on your Raspberry Pi.
- Implementing security measures to protect your device.
- Advanced tips for taking your security game to the next level.
Now, here’s your call to action: take what you’ve learned and apply it to your own Raspberry Pi setup. Share your success stories in the comments below, and don’t forget to check out our other articles for more tech tips and tricks. Stay safe out there, and happy hacking!
Table of Contents
- Understanding Raspberry Pi and Its IP Address
- Steps to Securely and Directly Connect Raspberry Pi IP Address
- Securing Your Raspberry Pi Connection
- Advanced Security Tips for Raspberry Pi
- Connecting Raspberry Pi to a Wi-Fi Network
- Why Securing Your Raspberry Pi Matters
Subheadings
- Martin And Eve Parisian Agency The Ultimate Guide To Pariss Premier Real Estate Powerhouse
- Aditi Mistry Sex Video