Ever wondered how to remote connect to Raspberry Pi without losing your mind? Well, you’re not alone. Whether you're a tech enthusiast, a hobbyist, or just someone trying to set up a home server, remote access to your Raspberry Pi can save you a ton of time and hassle. In this guide, we’ll break it down step by step so even a newbie can nail it.
Let’s be honest, Raspberry Pi is like the Swiss Army knife of tech gadgets. It’s small, affordable, and insanely versatile. But what if you want to control it from another room, or even another city? That’s where remote connection comes into play. Think of it as giving your Pi a virtual handshake from afar.
Now, before we dive deep into the nitty-gritty, let’s get one thing straight: remote connecting to your Raspberry Pi isn’t rocket science. With the right tools and a bit of patience, you’ll be controlling your Pi like a boss in no time. So grab a cup of coffee, sit back, and let’s get started.
- Iqvia Layoffs 2025 A Deep Dive Into Whats Happening And What Lies Ahead
- Aditi Mistry Sexy Video The Real Story Behind The Viral Sensation
Why Remote Connect to Raspberry Pi?
Let’s face it, Raspberry Pi is more than just a tiny computer—it’s a powerhouse for all sorts of projects. Whether you’re setting up a media center, running a home automation system, or even hosting a personal website, there are times when you won’t want to sit right next to your Pi to manage it. That’s where remote access becomes your best friend.
Imagine this: you’re chilling on your couch with your laptop, and you need to tweak some settings on your Pi. Instead of running back to your desk, you can simply connect remotely and do it from the comfort of your favorite spot. Sounds pretty sweet, right?
Benefits of Remote Access
- Convenience: No more running back and forth to your Pi.
- Flexibility: Work on your projects from anywhere in the world.
- Efficiency: Save time and increase productivity.
- Security: Manage your Pi without exposing it to unnecessary risks.
Now that we’ve got the “why” out of the way, let’s move on to the “how.” But first, here’s a quick table of contents to help you navigate through this guide.
- Fry99com Your Ultimate Guide To Unlocking The Best Gaming Experience
- Unveiling The Secrets Of Fry99 Your Ultimate Guide To Wwwfry99com
Table of Contents
- Setting Up Your Raspberry Pi for Remote Access
- Using SSH for Remote Connection
- Exploring VNC for Graphical Remote Access
- Understanding Your Network Configuration
- Securing Your Remote Connection
- Top Tools for Remote Access
- Common Issues and How to Fix Them
- Automating Your Remote Connections
- Advanced Techniques for Pro Users
- Wrapping It All Up
Setting Up Your Raspberry Pi for Remote Access
Alright, let’s get our hands dirty. The first step in remote connecting to your Raspberry Pi is setting it up properly. This involves a few key steps, like enabling SSH, configuring your network, and ensuring everything is secure. Don’t worry, we’ll walk you through it all.
What You’ll Need
- A Raspberry Pi with Raspbian OS installed.
- An active internet connection.
- A keyboard, mouse, and monitor (at least for the initial setup).
- A computer or smartphone to connect from.
Once you’ve got all that sorted, it’s time to dive into the setup process. Trust me, it’s easier than you think.
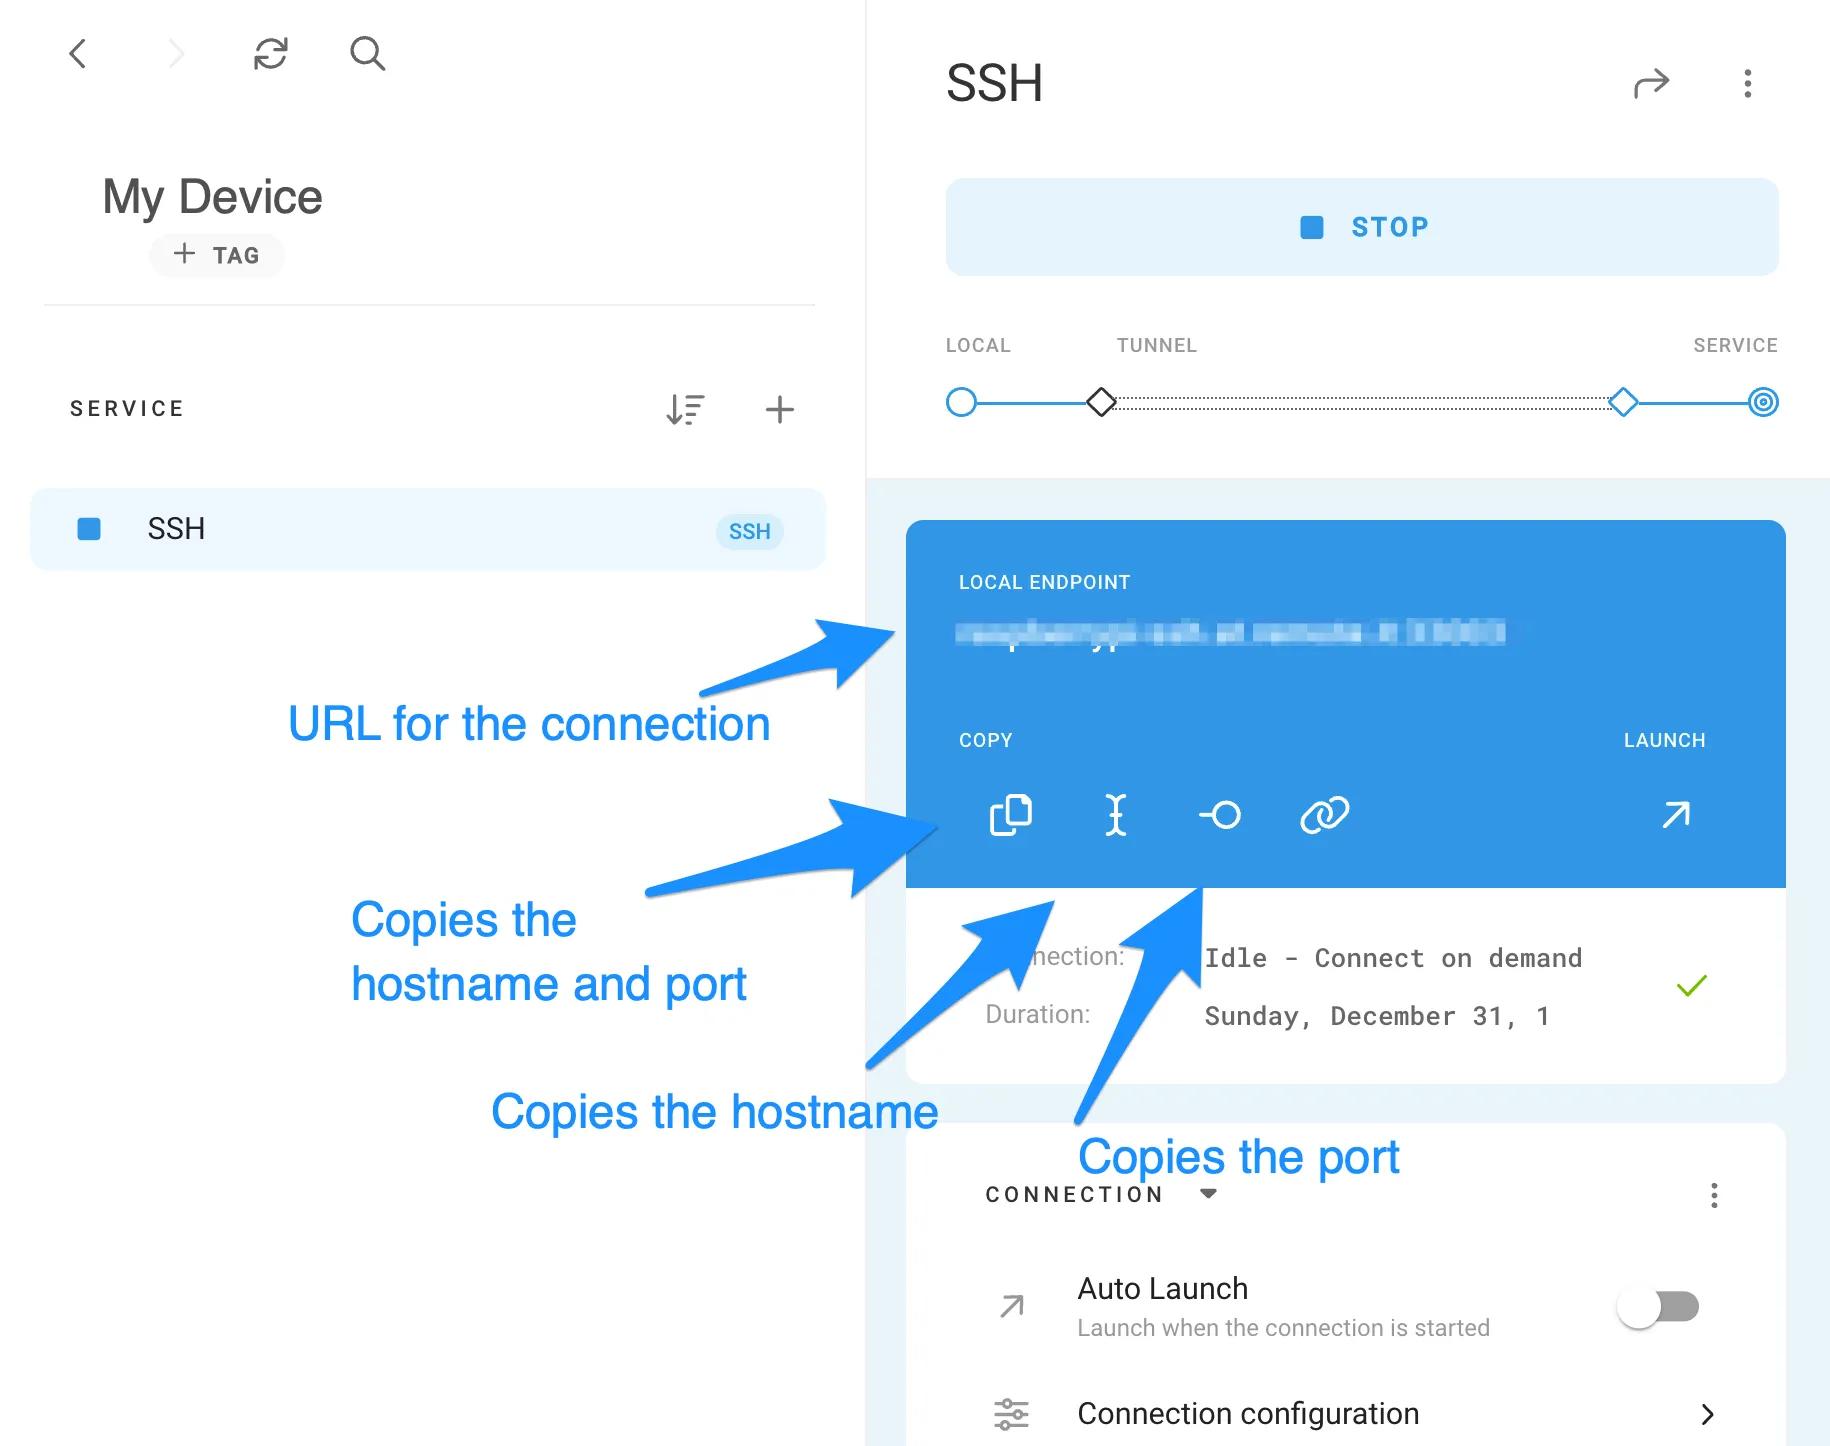
Using SSH for Remote Connection
SSH, or Secure Shell, is the go-to method for remote access to Raspberry Pi. It’s simple, secure, and works like a charm. Here’s how you can set it up:
- Enable SSH on your Raspberry Pi by going to
Raspberry Pi Configuration>Interfaces>SSH. - Find your Pi’s IP address by typing
ifconfigin the terminal. - Use an SSH client like PuTTY (for Windows) or the built-in terminal (for Mac/Linux) to connect.
And just like that, you’re in! SSH might not be the prettiest method, but it gets the job done efficiently.
Tips for Better SSH Experience
- Use SSH keys for passwordless login.
- Change the default SSH port for added security.
- Install fail2ban to protect against brute-force attacks.
Exploring VNC for Graphical Remote Access
Now, what if you want more than just a terminal? That’s where VNC comes in. VNC lets you remotely control your Raspberry Pi’s desktop interface, making it perfect for projects that require a graphical environment.
Setting up VNC is pretty straightforward:
- Enable VNC in
Raspberry Pi Configuration>Interfaces. - Download and install a VNC client on your computer or smartphone.
- Connect using your Pi’s IP address.
Voila! You’re now controlling your Pi’s desktop from anywhere.
Understanding Your Network Configuration
Network setup is crucial for a smooth remote connection. Whether you’re using a local network or connecting over the internet, understanding your network settings can save you a lot of headaches.
Key Network Terms to Know
- IP Address: The unique identifier for your Pi on the network.
- Router: The device that manages your network traffic.
- Port Forwarding: A technique to allow external access to your Pi.
Take some time to familiarize yourself with these terms. Trust me, it’ll make troubleshooting a whole lot easier.
Securing Your Remote Connection
Security is non-negotiable when it comes to remote access. The last thing you want is someone else gaining unauthorized access to your Pi. Here are a few tips to keep your connection secure:
- Use strong, unique passwords.
- Enable two-factor authentication whenever possible.
- Keep your software and firmware up to date.
By following these best practices, you can rest assured that your Pi is safe and sound.
Top Tools for Remote Access
There are plenty of tools out there to help you remote connect to your Raspberry Pi. Here are a few of our favorites:
- Putty: A free SSH client for Windows.
- VNC Viewer: A reliable VNC client for all platforms.
- TeamViewer: A versatile tool for remote access and support.
Experiment with these tools to find the one that works best for you.
Common Issues and How to Fix Them
Even the best-laid plans can go awry. Here are some common issues you might encounter and how to fix them:
- Can’t Connect to Pi: Double-check your IP address and ensure SSH/VNC is enabled.
- Connection Timeout: Make sure your router allows incoming connections on the required ports.
- Authentication Failed: Verify your username and password are correct.
These fixes should get you back on track in no time.
Automating Your Remote Connections
Automation is the name of the game when it comes to efficiency. By setting up scripts and automating repetitive tasks, you can save yourself a ton of time and effort.
For example, you can create a script to automatically connect to your Pi via SSH or VNC. Just make sure to test it thoroughly before relying on it.
Advanced Techniques for Pro Users
For those of you who want to take things to the next level, here are a few advanced techniques to explore:
- Setting up a static IP address for your Pi.
- Configuring a reverse SSH tunnel for secure remote access.
- Using a cloud-based service like ngrok for easy access.
These techniques require a bit more know-how, but they can seriously level up your remote access game.
Wrapping It All Up
So there you have it, folks. Remote connecting to your Raspberry Pi doesn’t have to be a daunting task. With the right tools, knowledge, and a bit of patience, you can master it in no time.
Remember, the key to a successful remote connection is preparation. Take the time to set everything up properly, secure your connection, and don’t be afraid to experiment with different tools and techniques.
Now it’s your turn! Try out these methods, share your experiences in the comments, and let us know how it goes. Happy Pi-ing!
- Adity Mistry New Life The Untold Journey
- Aditi Mistry Leak Video The Truth Behind The Sensation And What You Need To Know